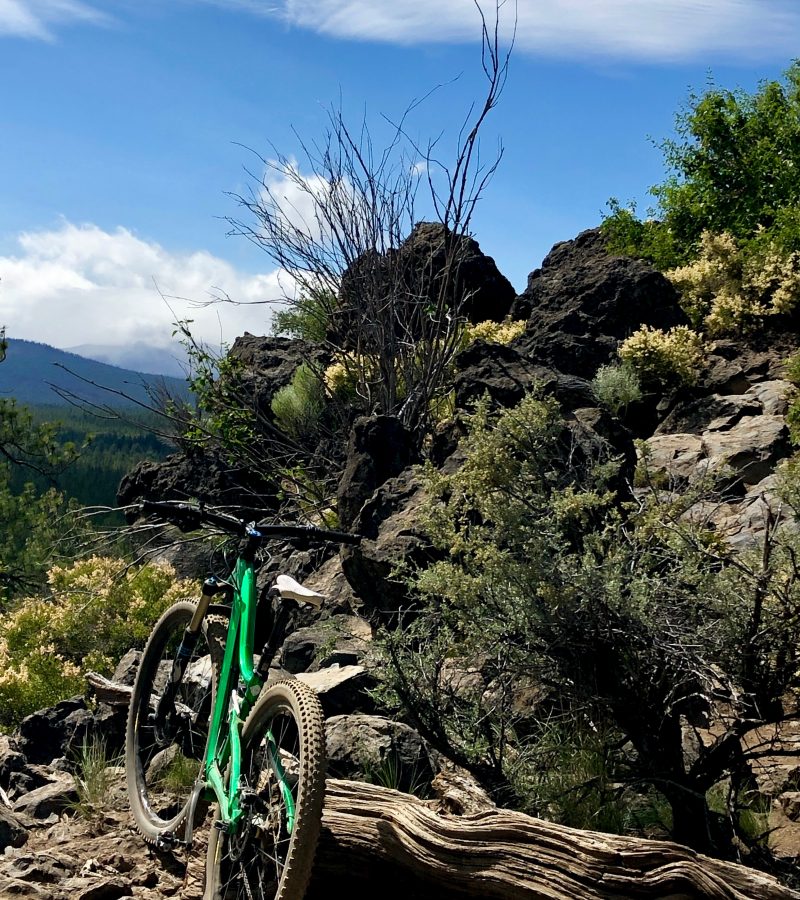
Mountain biking offers great exercise, beautiful scenery, and big fun, but to do it safely it is important to know basic mountain biking considerations.
Chris & Mac
We outventure to help you outventure!
Support Grey Otter Outventures!
Please help us continue to bring you great content:
We LOVE mountain biking! In fact, we do it 2 to 3 times a week. It offers great exercise, often beautiful scenery, the chance to be outdoors, and the chance to be a kid again. That said, mountain biking has risk. The learning curve can be steep for new bikers and trails can have consequences. It is, therefore, important to know some basic mountain biking considerations:
It can be done at all levels.
You don’t have to be an expert to have fun mountain biking. Mountain biking has become extremely popular, resulting in hundreds of thousands of trail miles ranging from low beginner to high expert. Within that framework, there is something for everyone. We regularly see people out with their young children on the trails. We also see older people (yes, like us) on the trails all the time. Whether you are a casual rider who just wants pretty, easy trail or an adrenaline junky who wants steep, rocky, technical trail, it’s out there.
ALWAYS, ALWAYS WEAR A HELMET!
You should always wear a helmet when on a bike, period. Us older folks, however, remember the days of our youth when no one wore helmets. Not wearing a helmet on the trails, however, is a massive mistake. Trails are not smooth and can be slippery, whether from wet or leaves or pine needles. It is easy to fall and hit your head, potentially resulting in a traumatic brain injury.
We have a friend who likes to state that riders who don’t wear helmets probably don’t need to protect their heads anyway. Don’t be that person!
Learn about the trails you will be riding and plan ahead.
As stated above, there are thousands of trails out there ranging from beginner to expert. Although the International Mountain Biking Association (IMBA) developed a consistent trail rating system, not all trail systems follow the IMBA ratings system. Further, trail ratings still have some wiggle room for interpretation. The result? Variation.
Generally, trails are marked by green, blue, or black, with black having one or more diamonds. This system is similar to ski trail rating systems. Mountain bike trails may also be marked as gold, blue, and red or “easiest”, “more difficult”, “most difficult”, or “Expert Only”. Even with these markings, however, different trail systems may differ widely in what they consider beginner, intermediate, or expert. For example, a trail marked beginner in Pisgah National Forest in North Carolina or Moab, Utah is going to be significantly more challenging than a trail marked beginner at Alafia or Santos in Florida.
Given the variability of trail rating systems, oing your homework about a trail system will help you to understand if the riding is appropriate for your skill level.As such,it is important to find out the general difficulty of the trails in the area so you know how to judge the trail ratings. A local bike shop is a good source for this information.
This can help to ensure that not only you, but your ride partners, enjoy the outventure.
Don’t push too far out of your comfort zone.
The thing about mountain biking is that it can be really enjoyable or really scary (although, to be fair, some of us like the scary). Mountain biking, like most demanding or extreme sports, is about experience. As our experience grows, we come to understand the limitations of our skills and the bike we ride. This experience helps guide our decisions of trail type, speed, and technical challenge. Often when we encounter an obstacle or steep section of trail, it tweaks the nerves – even if you are an experienced mountain biker. This nervousness may prompt us to make mistakes, such as clamping on the brakes on a steep down (that can result in an “endo” – going over the handlebars) or trying to stop short in a rocky, technical section resulting in a fall. Experience drives our comfort and helps us to decide not only if a trail is appropriate for us, but how to handle difficult situations. The extent of this experience defines our comfort zone.
Staying, generally, within your comfort zone will increase your safety. Always keep this in mind. That said, however, to build experience, we must stretch that comfort zone. The trick is not stretching it too far. So, when you pick trails, do your research and pick trails that are not too much above your pay grade. When you are riding and encounter an obstacle, ask yourself honestly whether you are up to the challenge or whether you should walk the obstacle. There is no shame in walking an obstacle. Hospital bills are expensive (trust us we know), so use your good judgement, understand your abilities, and make smart choices to stay safe.
Bring adequate water and hydration.
Hydration is extremely important. Not only are dehydration headaches and muscle cramps no fun, but dehydration can be very dangerous.
Water is a no brainer to carry. The hard part is determining how much. No one likes to carry too much water. One liter of water weighs 2.2 pounds. Many hydration bladders carry 3 liters of water, resulting in 6.6 pounds on your back. Carrying too much water is not necessary, but too little is a problem. Start out with more than you think you need, then reduce as you gain experience.
But water is not the only key to hydration. In fact, relying solely on water can be dangerous or even fatal. There is a condition called hyponatremia that results from drinking too much water too fast, causing the sodium level in your body to fall too low. As such, it is a good idea to carry a bottle of hydration drink with electrolytes in your pack to supplement your water consumption.
Maintain your equipment.
The condition of your bike and other equipment will not only affect your enjoyment, it will affect your safety. Always do some basic bike maintenance and a basic bike check before you ride (for more on this, see our article “Basic Pre-Ride Bike Maintenance”). Also, make a point to check your helmet for damage. You may not have taken a spill, but the helmet could be damaged in transit. Remember that once a helmet is damaged, it will not adequately protect your head. Your brain bucket is critical to your safety, so make sure it is in good shape before you hit the trails.
Know how to make repairs on the trail.
Even if you are in a bike park, you may be miles from the trailhead. Knowing how to make some basic bike repairs can save you a very long and unsatisfying walk back to the car should you get a flat or break a chain. Most bike shops that sell mountain bikes offer free repair clinics so you can keep riding after a breakdown. Do yourself a favor and take one of these classes.
Carry proper equipment.
Make sure to carry proper equipment when you hit the trails. Having the right equipment will make the ride more enjoyable and can save you that LONG walk back to the car. See our article entitled “Mountain Bike Equipment” for a discussion of basic gear you should carry.
Conclusion
Above we discussed the basic mountain biking considerations for a safe and successful outventure. There is, of course, more to know about mountain biking, but these considerations will get you started. Just remember, like any outdoor activity, your knowledge will grow with experience. Build that experience slowly and if you are ever unsure, seek the advice of those with greater experience.
We LOVE mountain biking! In fact, we do it 2 to 3 times a week. It offers great exercise, often beautiful scenery, the chance to be outdoors, and the chance to be a kid again. That said, mountain biking has risk. The learning curve can be steep for new bikers and trails can have consequences. It is, therefore, important to know some basic mountain biking considerations:
It can be done at all levels.
You don’t have to be an expert to have fun mountain biking. Mountain biking has become extremely popular, resulting in hundreds of thousands of trail miles ranging from low beginner to high expert. Within that framework, there is something for everyone. We regularly see people out with their young children on the trails. We also see older people (yes, like us) on the trails all the time. Whether you are a casual rider who just wants pretty, easy trail or an adrenaline junky who wants steep, rocky, technical trail, it’s out there.
ALWAYS, ALWAYS WEAR A HELMET!
You should always wear a helmet when on a bike, period. Us older folks, however, remember the days of our youth when no one wore helmets. Not wearing a helmet on the trails, however, is a massive mistake. Trails are not smooth and can be slippery, whether from wet or leaves or pine needles. It is easy to fall and hit your head, potentially resulting in a traumatic brain injury.
We have a friend who likes to state that riders who don’t wear helmets probably don’t need to protect their heads anyway. Don’t be that person!
Learn about the trails you will be riding and plan ahead.
As stated above, there are thousands of trails out there ranging from beginner to expert. Although the International Mountain Biking Association (IMBA) developed a consistent trail rating system, not all trail systems follow the IMBA ratings system. Further, trail ratings still have some wiggle room for interpretation. The result? Variation.
Generally, trails are marked by green, blue, or black, with black having one or more diamonds. This system is similar to ski trail rating systems. Mountain bike trails may also be marked as gold, blue, and red or “easiest”, “more difficult”, “most difficult”, or “Expert Only”. Even with these markings, however, different trail systems may differ widely in what they consider beginner, intermediate, or expert. For example, a trail marked beginner in Pisgah National Forest in North Carolina or Moab, Utah is going to be significantly more challenging than a trail marked beginner at Alafia or Santos in Florida.
Given the variability of trail rating systems, it is important to find out the general difficulty of the trails in the area so you know how to judge the trail ratings. A local bike shop is a good source for this information. Then, doing your homework about the trail or system you intend to ride will help you to understand if the riding is appropriate for your skill level. A great source of information about individual trails or systems is Trailforks. In addition to the website this link takes you to, Trailforks also has a phone app which is fantastic to use for navigation while riding the trails. Taking the time to learn about a trail system will help to ensure that not only you, but your ride partners, enjoy the outventure.
Don’t push too far out of your comfort zone.
The thing about mountain biking is that it can be really enjoyable or really scary (although, to be fair, some of us like the scary). Mountain biking, like most demanding or extreme sports, is about experience. As our experience grows, we come to understand the limitations of our skills and the bike we ride. This experience helps guide our decisions of trail type, speed, and technical challenge. Often when we encounter an obstacle or steep section of trail, it tweaks the nerves – even if you are an experienced mountain biker. This nervousness may prompt us to make mistakes, such as clamping on the brakes on a steep down (that can result in an “endo” – going over the handlebars) or trying to stop short in a rocky, technical section resulting in a fall. Experience drives our comfort and helps us to decide not only if a trail is appropriate for us, but how to handle difficult situations. The extent of this experience defines our comfort zone.
Staying, generally, within your comfort zone will increase your safety. Always keep this in mind. That said, however, to build experience, we must stretch that comfort zone. The trick is not stretching it too far. So, when you pick trails, do your research and pick trails that are not too much above your pay grade. When you are riding and encounter an obstacle, ask yourself honestly whether you are up to the challenge or whether you should walk the obstacle. There is no shame in walking an obstacle. Hospital bills are expensive (trust us we know), so use your good judgement, understand your abilities, and make smart choices to stay safe.
Bring adequate water and hydration.
Hydration is extremely important. Not only are dehydration headaches and muscle cramps no fun, but dehydration can be very dangerous.
Water is a no brainer to carry. The hard part is determining how much. No one likes to carry too much water. One liter of water weighs 2.2 pounds. Many hydration bladders carry 3 liters of water, resulting in 6.6 pounds on your back. Carrying too much water is not necessary, but too little is a problem. Start out with more than you think you need, then reduce as you gain experience.
But water is not the only key to hydration. In fact, relying solely on water can be dangerous or even fatal. There is a condition called hyponatremia that results from drinking too much water too fast, causing the sodium level in your body to fall too low. As such, it is a good idea to carry a bottle of hydration drink with electrolytes in your pack to supplement your water consumption.
Maintain your equipment.
The condition of your bike and other equipment will not only affect your enjoyment, it will affect your safety. Always do some basic bike maintenance and a basic bike check before you ride (for more on this, see our article “Basic Pre-Ride Bike Maintenance”). Also, make a point to check your helmet for damage. You may not have taken a spill, but the helmet could be damaged in transit. Remember that once a helmet is damaged, it will not adequately protect your head. Your brain bucket is critical to your safety, so make sure it is in good shape before you hit the trails.
Know how to make repairs on the trail.
Even if you are in a bike park, you may be miles from the trailhead. Knowing how to make some basic bike repairs can save you a very long and unsatisfying walk back to the car should you get a flat or break a chain. Most bike shops that sell mountain bikes offer free repair clinics so you can keep riding after a breakdown. Do yourself a favor and take one of these classes.
Carry proper equipment.
Make sure to carry proper equipment when you hit the trails. Having the right equipment will make the ride more enjoyable and can save you that LONG walk back to the car. See our article entitled “Mountain Bike Equipment” for a discussion of basic gear you should carry.
Conclusion
Above we discussed the basic mountain biking considerations for a safe and successful outventure. There is, of course, more to know about mountain biking, but these considerations will get you started. Just remember, like any outdoor activity, your knowledge will grow with experience. Build that experience slowly and if you are ever unsure, seek the advice of those with greater experience.
Gear We Use for Mountain Biking
To see descriptions of the gear Chris & Mac use for mountain biking, as well as links to manufacturers and retailers offering the gear for sale, please CLICK HERE.
SAFETY DISCLAIMER: The activities discussed in this website are outdoor activities and, as such, have inherent risks to which participants are exposed. It is not the intent of this website, nor is it possible due to the variability of weather, terrain, equipment, and experience, to detail all of those risks. The information contained in this site is informational, but not instructive nor exhaustive. It is the sole responsibility of the user to ensure he/she is in good health, fully prepared, and fully informed as to dangers before undertaking any of the activities discussed in this website and the user does so at his/her own risk. The user understands that by using this website he/she acknowledges and accepts all risks associated with use of information from this website and participation in any particular activity addressed herein. Please see “Terms of Use” for additional information.
Want to share this article with your friends? Click on the share button below:
Want more?
Get the latest outventure updates by following us on social media . . .


